If water got where it shouldn’t, two phases get your life back: mitigation and restoration. They’re different, they happen in order, and together they prevent small leaks from becoming big, moldy money pits.
Quick TL;DR
- Mitigation = “Stop the bleeding.”
Emergency steps that prevent further damage: shut off water, extract standing water, stabilize structure, dry the building, and keep contamination from spreading. - Restoration = “Heal and rebuild.”
Planned repairs to return the property to pre-loss condition: replace materials that had to be removed, treat or remove mold, repaint, reinstall floors, cabinets, trim, etc. - Order matters: Mitigation first. Restoration only begins once moisture and contamination are under control.
Why This Matters
Confusing these phases can wreck a claim, waste money, or cause mold. Knowing what happens when—and why—helps you approve the right work, ask smart questions, and speed up your return to normal.
Plain-English Definitions
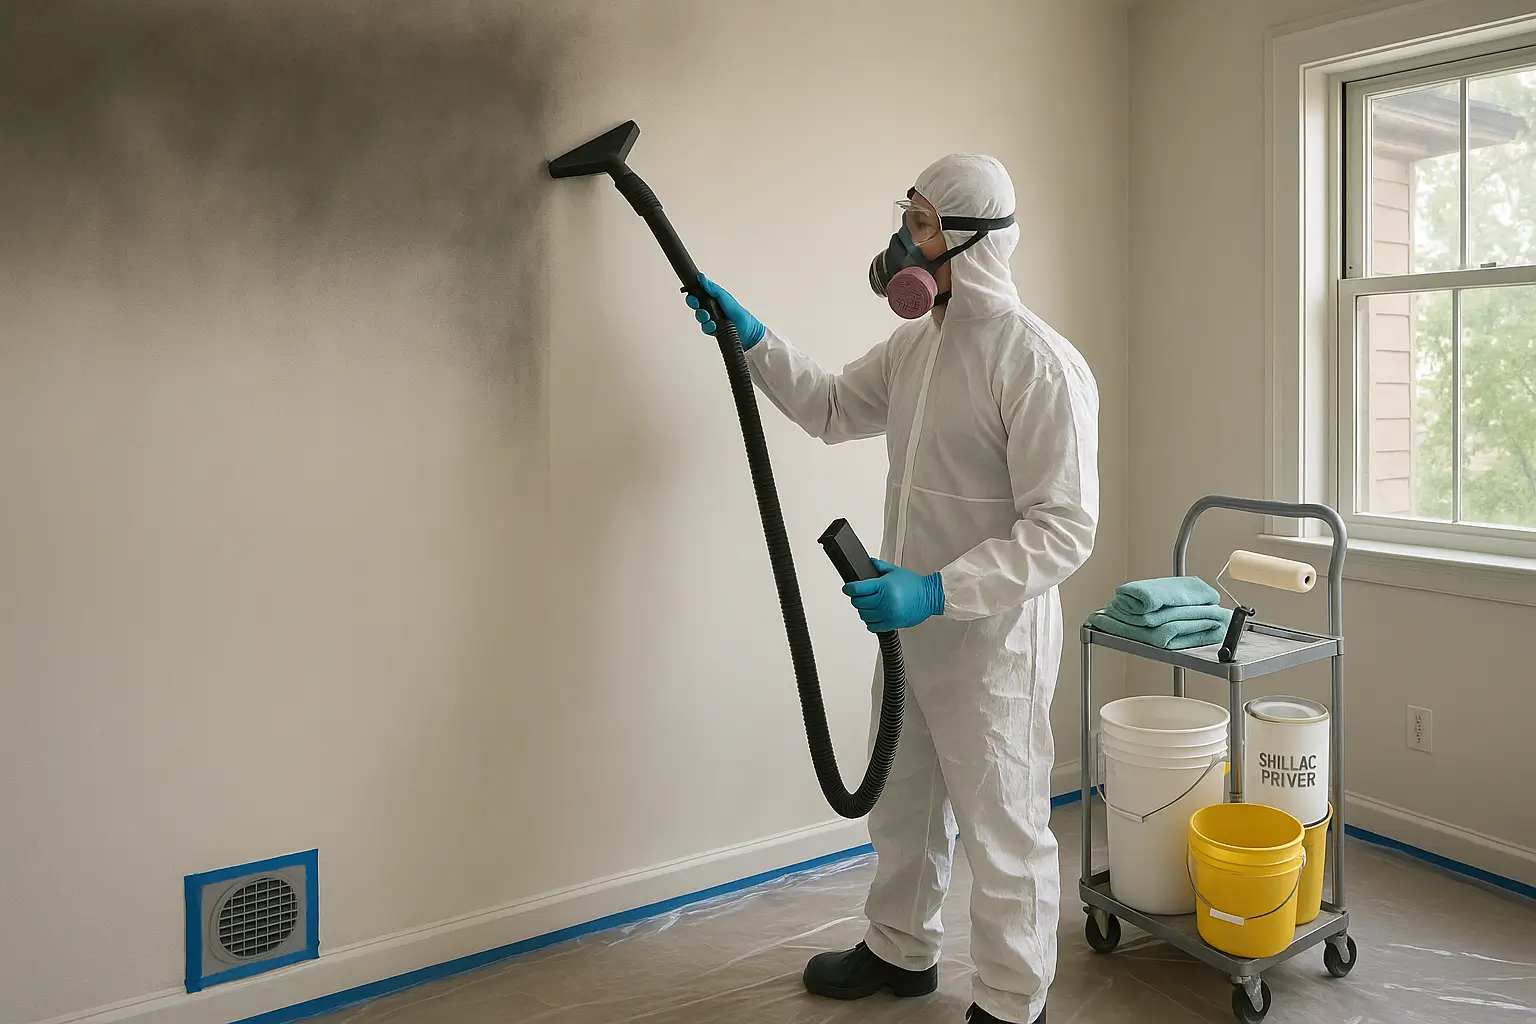
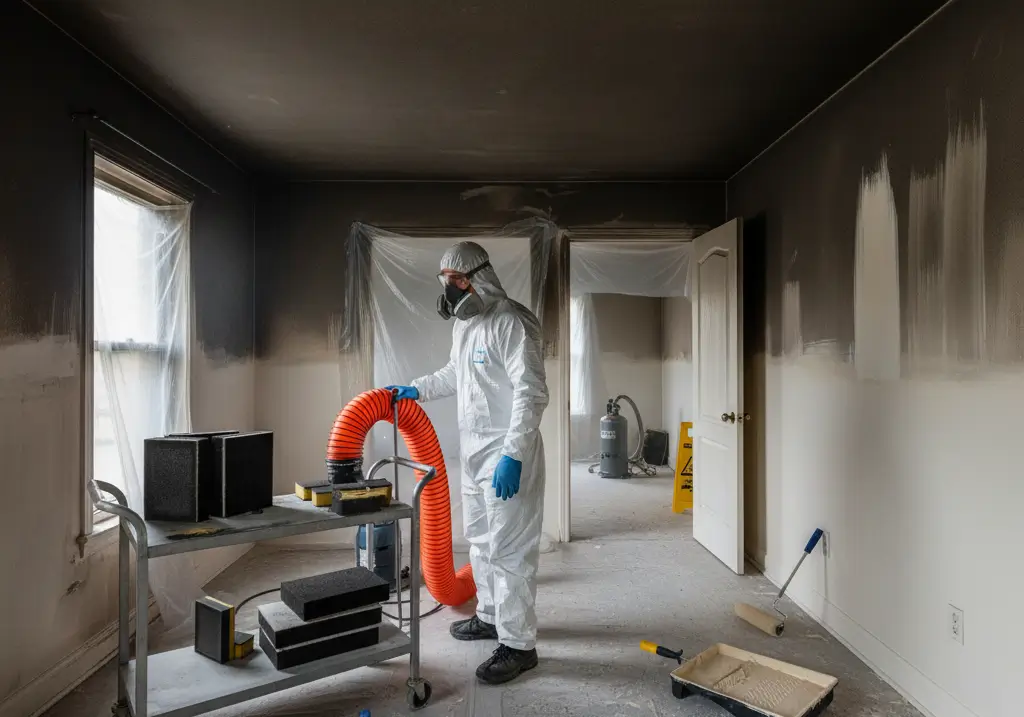
What is Water Mitigation?
Think of firefighters after the flames are out: they secure the scene so nothing else goes wrong.
Goal: Limit loss right now.
Typical actions:
- Find and stop the source (valve off, temporary plumbing fix, roof tarp).
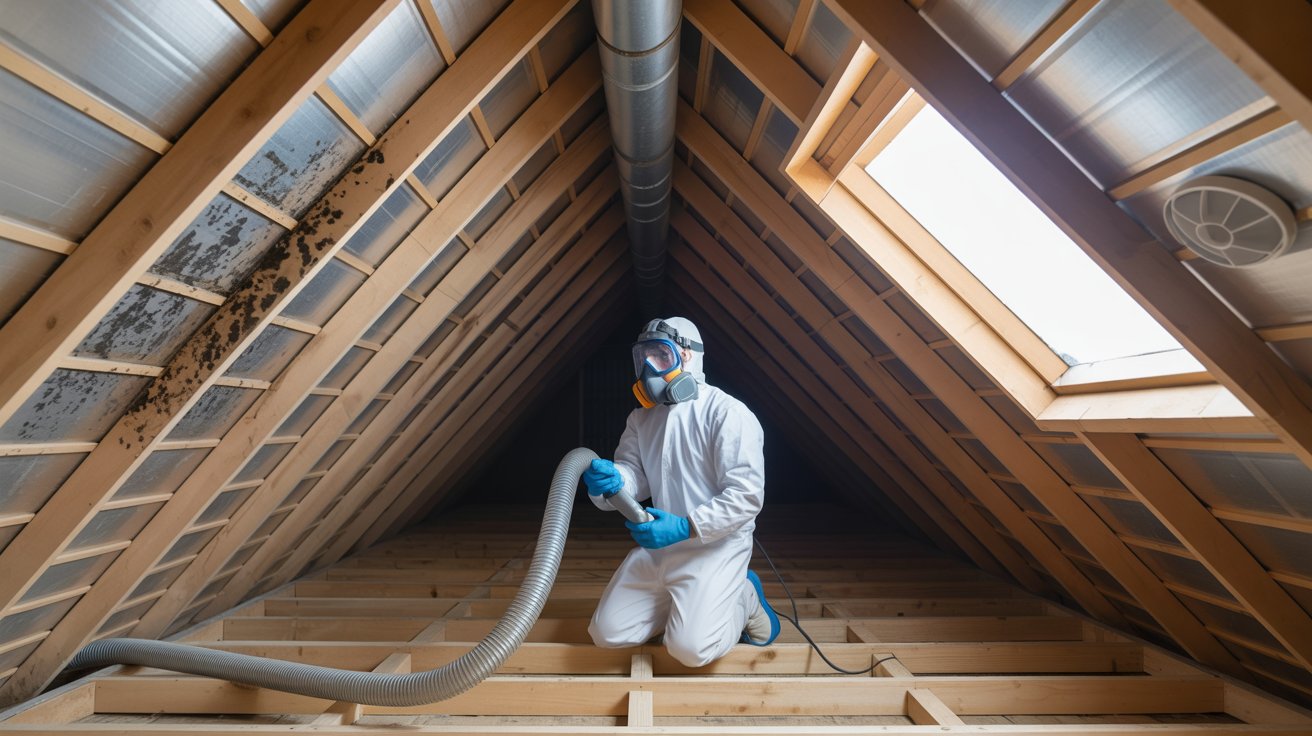
- Extract visible water with pumps/wet vacs.
- Stabilize: set dehumidifiers and air movers, isolate wet rooms with plastic, pull baseboards, make wall weep-holes on clean-water losses, remove soaked pad/insulation.
- Sanitize non-porous surfaces (especially gray/black water).
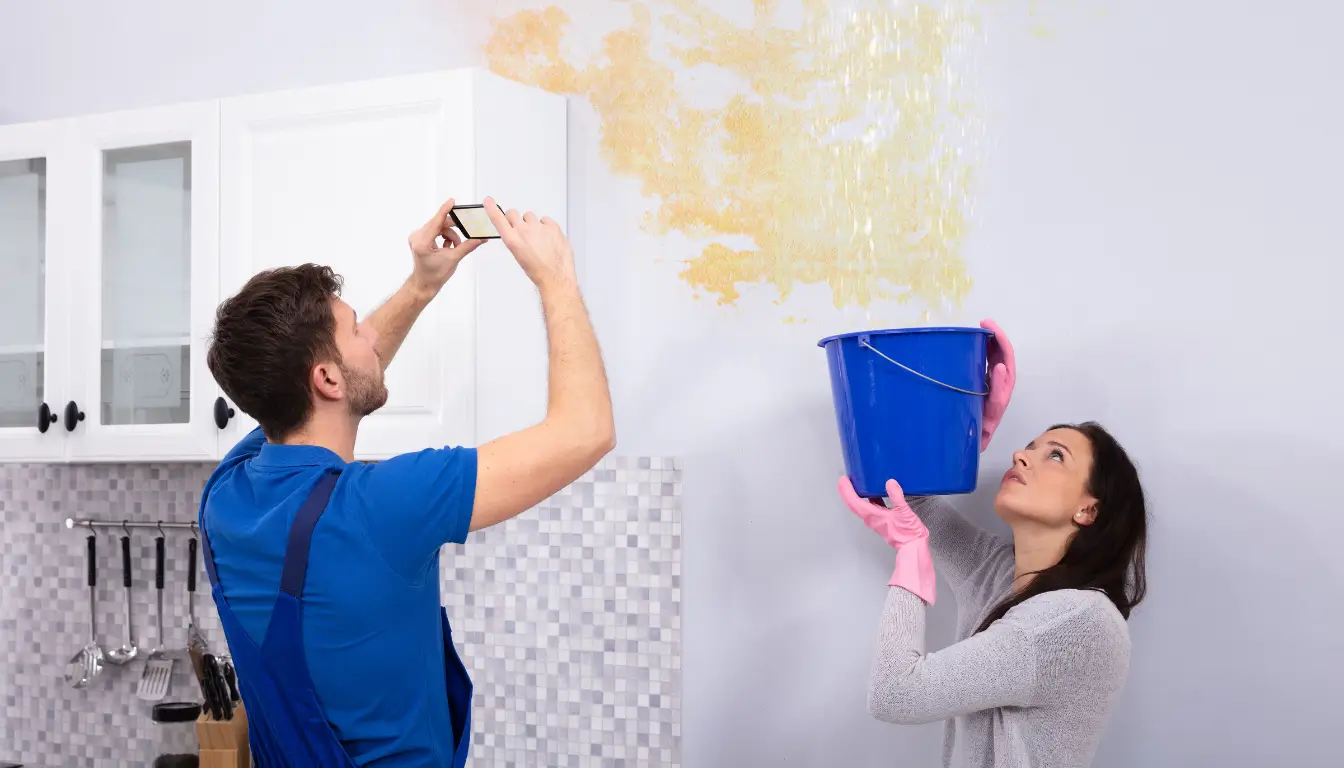
- Document: photos, moisture readings, map of affected areas.
Deliverable: A clean, stable, drying structure that’s safe to plan repairs in.
What is Water Restoration?
This is the rebuild phase where your home is put back together.
Goal: Return to pre-loss condition (or better, if you choose upgrades).
Typical actions:
- Replace removed drywall, insulation, trim, doors, cabinets, and flooring.
- Address mold that appeared or was uncovered (remove impacted materials, HEPA cleaning, clearance).
- Finish surfaces: paint, stain, caulk.
- Functional fixes: repair roofing, plumbing, or electrical that failed.
- Verification: final moisture/humidity checks before close-out.
Deliverable: A finished, habitable space that passes moisture targets and inspections.
Side-by-Side Comparison
| Topic | Mitigation | Restoration |
|---|---|---|
| Primary purpose | Prevent further damage | Repair/replace what was damaged |
| Urgency | Immediate (hours to a few days) | Planned (days to weeks, project dependent) |
| Typical scope | Extraction, drying, containment, sanitizing, selective tear-out | Carpentry, drywall, insulation, flooring, paint, cabinetry, roofing, finish work |
| Who does it | Mitigation/“emergency services” teams (often 24/7) | General contractor or restoration contractor’s rebuild division |
| Insurance angle | Often approved quickly to reduce claim costs | Usually requires adjuster estimate/scope approval |
| Payment style | Time & materials/equipment daily rates | Line-item estimates, bids, change orders |
| Success metric | RH down, moisture readings trending to dry standard, no spread | Room rebuilt, passes moisture targets, looks/works like pre-loss |
When Does Each Happen? (Typical Timeline)
- First 0–48 hours: Mitigation
Stop source → extract → set containment & drying → remove unsalvageable porous materials → sanitize → daily moisture checks. - Days 3–7: Continue mitigation until “dry standard”
Adjust fan/dehu placement; verify progress with instruments, not just touch. - After dry-out & scope approval: Restoration
Order materials → schedule trades → rebuild → paint/finish → final QA.
Rule of thumb: No rebuild should begin until materials are confirmed dry and any Category 2/3 contamination is remediated.
What the Internet Often Gets Wrong (and the truth)
- “Mitigation fixes everything.”
No—mitigation stops loss and prepares the site. The fix is restoration. - “Walls and carpets will dry on their own.”
They might surface-dry, but hidden moisture in pads, wall cavities, and subfloors can spark mold and odors. Verification requires meters, not guesswork. - “It’s cheaper to replace than restore.”
Sometimes—but not always. Drying hardwood, saving cabinets, or cleaning tile can be faster and less disruptive than full replacement. Decision should be based on category (clean/gray/black water), saturation, and material. - “One company should do everything.”
Many do both; some specialize. It’s fine to use separate teams—just ensure clear handoff: final moisture report from mitigation → approved scope for rebuild.
How Pros Decide: Category & Class (fast triage you can follow)
- Water Category (contamination):
Cat 1 clean supply/tub overflow → often dry & save.
Cat 2 gray (appliance discharge) → remove more porous materials.
Cat 3 black (sewage/ground flood) → remove most porous materials and perform remediation. - Drying Class (how much got wet):
Class 1 small area → quick dry.
Class 2 full rooms, wet walls → moderate.
Class 3 ceilings/walls/floors saturated (water from above) → intensive.
Class 4 dense/low-perm materials (hardwood, plaster, brick) → specialty drying and more time.
These two calls guide whether carpet pad, drywall, and insulation are saved or removed, and how long mitigation will take.
What You Can Safely Do vs. Leave to Pros
Often safe to do (if power/gas hazards are controlled):
- Shut off main water and document everything (photos/video).
- Move dry valuables out of wet rooms; elevate furniture on blocks/foil.
- Use wet/dry vacs on small clean-water spills; start dehumidifiers and air movement.
- Create basic containment (close doors or hang plastic) to keep humid air confined.
Leave to licensed pros:
- Ceiling sag or structural movement.
- Category 2/3 losses and any sewage/ground flood.
- Homes likely to contain asbestos/lead (common in pre-1980 materials) before demolition.
- Electrical systems affected by water.
- Mold remediation beyond a small, surface-level spot.
Insurance Tips (without the jargon)
- Open a claim as a “sudden and accidental water loss.”
- Ask specifically about flood (rising water) and sewer backup endorsements if relevant.
- Keep a daily log: who was on site, what they did, equipment added/removed, meter readings.
- Photograph and inventory anything discarded (make/model/age) before it leaves.
- ALE (Additional Living Expense): if rooms are unusable, ask about lodging/meals coverage.
- You can usually choose your own qualified contractor—even if the carrier offers a “preferred vendor.”
Example Scenarios (so it all clicks)
- Burst supply line while you’re at work (Cat 1, Class 2):
Mitigation: Shut valve, extract, remove wet pad, set dehus/fans, weep-hole walls, daily dry checks.
Restoration: Replace pad, re-stretch carpet or install new flooring, patch/paint drywall at baseboards, reinstall trim. - Dishwasher leak unnoticed over a weekend (Cat 2, Class 3):
Mitigation: Extract, remove soaked pad and lower drywall/insulation, sanitize, dry cabinet cavities, contain kitchen from rest of home.
Restoration: New drywall/insulation, toe-kicks, possibly cabinet backs, flooring as needed, repaint. - Sewage backup in basement (Cat 3):
Mitigation: PPE, containment, extraction, remove porous materials (carpet, pad, drywall, insulation), sanitize, dry structure, negative air if needed.
Restoration: Rebuild walls, flooring, finishes after clearance.
Salvage vs. Discard: Fast Matrix
| Material | Clean Water (Cat 1) | Gray (Cat 2) | Black/Sewage (Cat 3) | Notes |
|---|---|---|---|---|
| Drywall & insulation | Often save drywall with fast dry; remove wet insulation | Usually cut 12–24 in. above water line | Remove both | Hidden moisture risk |
| Carpet | Often salvageable; remove pad if saturated | Pad usually discard; carpet sometimes cleanable | Discard | Steam/clean if saved |
| Hardwood | Often salvageable; specialty drying | Case by case | Often salvageable with specialty drying; assess contamination | Expect cupping, slow dry |
| Laminate/pressboard | Frequently discard if swollen | Discard | Discard | Delaminates when wet |
| Cabinets | Ventilate; remove toe-kicks | Backs/toe-kicks may need replacement | Often replace backs/toe-kicks | Dry behind/under |
| Upholstery/mattress | Maybe if minimally damp | Usually discard | Discard | Porous + contamination |
How to Choose a Contractor (for each phase)
Mitigation partner must:
- Provide a written moisture map, category/class assessment, and daily readings.
- Use adequate dehumidification (RH target typically ≤ 50% during dry-out).
- Explain what’s being removed and why (category/class rationale).
- Photograph start → progress → completion and share with your adjuster.
Restoration partner must:
- Produce a clear scope & schedule, material selections, and permit plan.
- Coordinate trades (carpenter, drywall, paint, flooring) and perform final moisture verification before closing walls/floors.
- Handle change orders transparently if hidden damage appears.
One company can do both. If you split the work, insist on a mitigation close-out packet (photos, readings, dry-standard confirmation) for a smooth handoff.
FAQs
Do I always need both mitigation and restoration?
Usually yes. Mitigation stabilizes; restoration rebuilds. Tiny clean-water spills might only need mitigation (drying) and touch-up.
Can restoration start while drying is still happening?
Only minor prep. Major rebuild waits until materials hit dry standard and any contamination is addressed.
Is mitigation covered by insurance?
If the cause is a covered peril (e.g., sudden pipe burst), carriers generally pay reasonable mitigation to reduce total loss. Flood/sewer events depend on your policy endorsements.
Will my home smell musty after mitigation?
It shouldn’t, once fully dry. Musty smell after “dry-out” often means hidden moisture or early mold—ask for additional investigation.
How long will this take?
Mitigation is typically 2–7 days depending on category/class and materials. Restoration varies widely with materials, backorders, and scope (from a few days to several weeks).
Helpful Terms (No Buzzwords)
- Containment: Plastic barriers/closed doors to keep humid or contaminated air from clean rooms.
- Flood cut: Removing the lower 12–24″ of drywall to remove wet/contaminated materials.
- Dry standard: Moisture readings matching unaffected areas or industry targets.
- Negative air: Exhausting air from a contained space to prevent spread of dust/mold.
Bottom Line
- Mitigation comes first to stop loss and dry the structure.
- Restoration follows to repair and finish.
Treat them as complementary halves of one goal: a home that’s safe, dry, and back to normal—without surprise mold, blown budgets, or do-overs.