Pro workflow: identify the soot, clean in the right order, and lock in results with the right primer.
Quick Summary
- Safety first: PPE, ventilation, and HVAC off in the work zone.
- Always dry-clean before wet-clean. HEPA vacuum and soot sponges prevent smearing.
- Match your method to soot type (dry, oily, or protein) and your paint finish (flat/eggshell vs. semi-gloss).
- Finish with odor-blocking primer if stains or odor linger—then repaint.
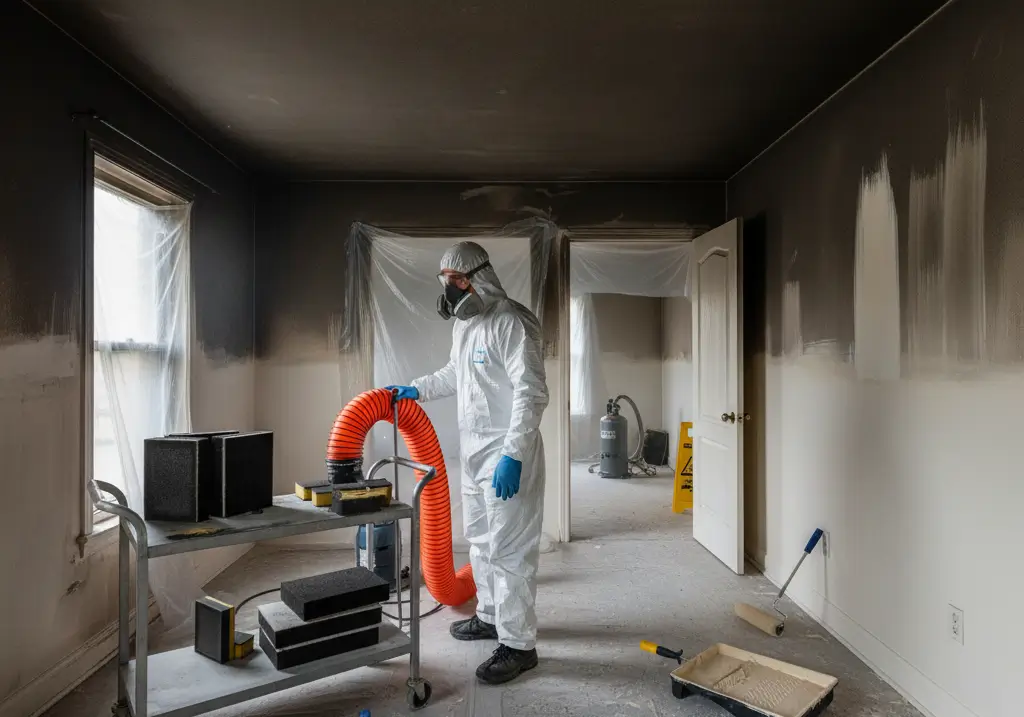
Before You Start: Safety & Setup
- Protect yourself: Gloves, eye protection, and a suitable respirator (P100 for soot; add organic vapor cartridges if strong odors/solvents).
- Vent smart: Open windows; use a fan exhausting to the outside. Keep the home’s HVAC off in affected rooms so you don’t move soot into ducts.
- Protect the space: Cover floors and furniture; tape over supply/return vents; remove wall décor and outlet covers (turn the circuit off before removing covers).
- Older homes caution: If you’ll abrade painted surfaces in a pre-1978 home, be mindful of potential lead paint; when in doubt, use low-dust methods or call a pro.
Step 1 — Identify Your Soot (so you don’t make it worse)
- Dry/High-oxygen soot (powdery, gray): Lifts easily; smears if you wet it too soon.
- Oily/Low-oxygen soot (dark, smeary): From plastics, synthetics, low-oxygen burns; needs alkaline cleaning after dry-cleaning.
- Protein residue (kitchen “invisible soot” with strong odor): Little visible staining, big smell; requires thorough alkaline cleaning and often sealing.
Quick test: Lightly dab a white cloth on the wall. Powdery transfer = dry soot; greasy smear = oily/protein.
Tools & Supplies (what pros actually use)
- HEPA vacuum with soft brush attachment
- Dry-cleaning (chemical) sponges for soot
- Alkaline wall cleaner or TSP-substitute; separate rinse bucket
- Microfiber cloths (lint-free), soft wall brush
- Painter’s tape, plastic sheeting, step ladder
- Odor-blocking primer (shellac or solvent-based) + roller/brush
- PPE (gloves, goggles, respirator)
Step-by-Step: Walls (best practice sequence)
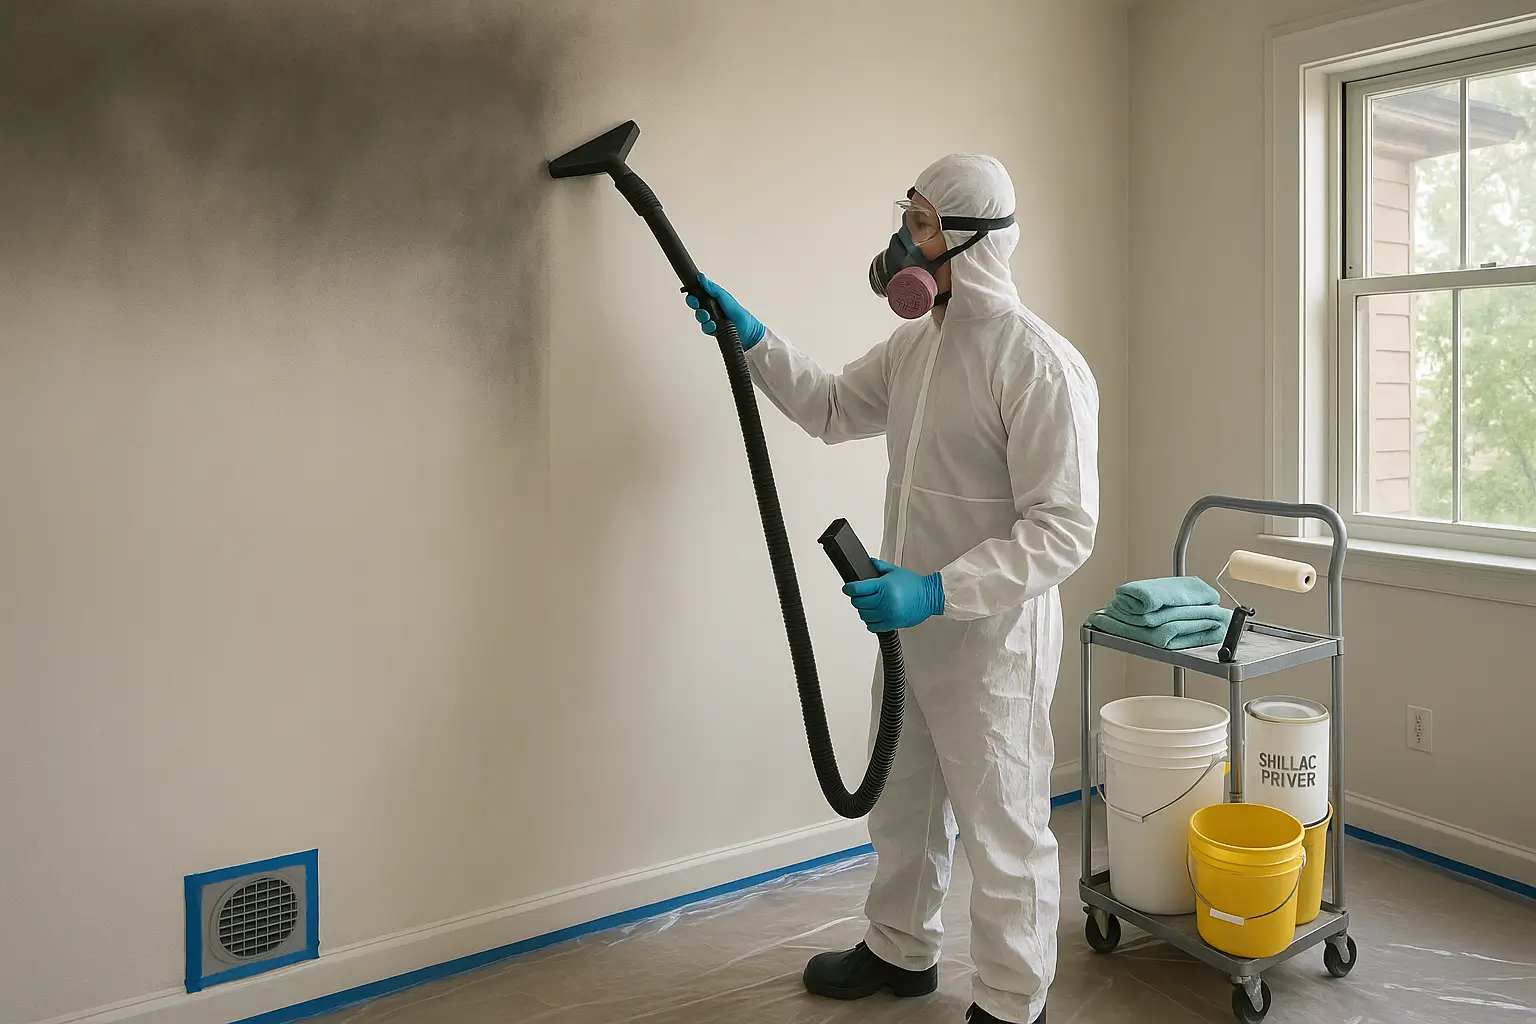
1) Dry-clean first (no liquids yet)
- HEPA vacuum top → down, ceilings first, then walls. Keep the brush slightly off the surface to avoid burnishing.
- Soot sponges: Press and lift; do not rub. Work in small sections. Rotate to a clean face; slice off soiled edges to keep lifting soot.
2) Wet-clean (when dry soot removal is maxed out)
Choose the right solution and go gentle—especially on flat/eggshell paint.
- Mix an alkaline cleaner per label in bucket A; clean water in bucket B.
- Two-bucket method: Dip your cloth in A, wring nearly dry, wipe top-to-bottom with overlapping strokes; rinse cloth in B, wring, repeat.
- Change rinse water often. Avoid overwetting; watch for drip lines.
Finish-specific tips
- Flat/Eggshell: Light pressure, nearly dry cloth; expect to prime & repaint if staining persists.
- Semi-gloss/Gloss: More durable—you can use slightly wetter passes.
- Wallpaper: Test first; many papers stain or bubble—often a pro job.
3) Stubborn stains or odor? Seal it.
- After the wall is clean and dry, apply an odor-blocking primer (shellac/solvent based) over stained or odorous areas—or the whole wall for uniformity.
- Allow full cure per label; then apply topcoat paint.
Ceilings Come First (then walls)
Always clean the ceiling before walls so falling soot doesn’t re-soil finished work. Use the same dry-then-wet sequence; protect yourself from overhead dust.
Special Cases & Pro Tricks
- Protein (kitchen) fires: Minimal visible soot, strong odor. Use alkaline degreaser, repeat wipes until cloths come away clean; sealing is often required.
- Textured walls/“orange peel”: HEPA vacuum with soft brush; dab with soot sponge; minimal moisture to avoid lodging residue in texture.
- Brick/stone feature walls: Vacuum and dry-sponge first; then masonry-safe alkaline cleaner. Avoid acids; they can set stains.
- Outlets & switches: Kill power at breaker, remove cover plates, clean and replace; don’t wet live electrical.
- Soot webs (ceiling corners): Gently vacuum; they smear easily if wiped first.
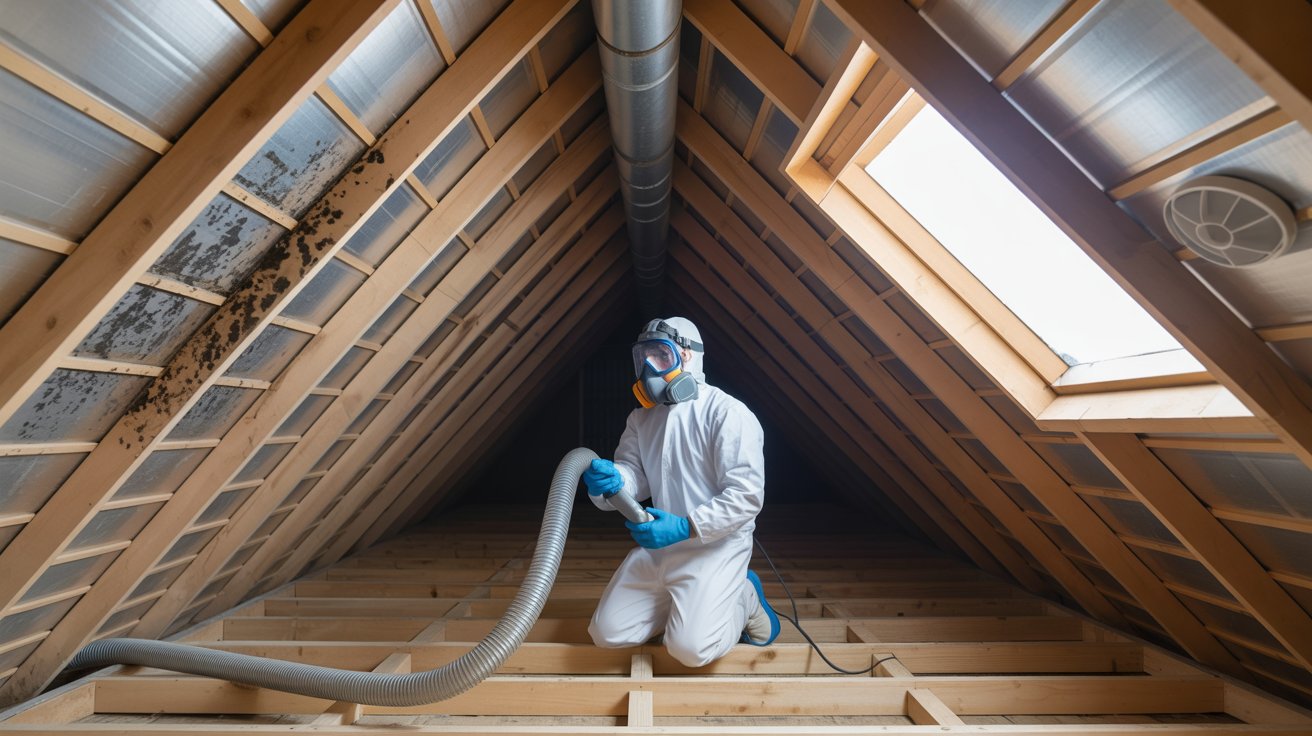
- HVAC: Replace filters; have ducts assessed if the system ran during/after the event.
Common Mistakes to Avoid
- Starting with soap and water (you’ll smear soot deep into paint).
- Rubbing soot sponges or using them wet (they stop lifting).
- Over-wetting flat paint and creating shiny burnish marks.
- Skipping an odor-blocking primer when faint odor remains.
- Running central HVAC during cleanup (spreads residue).
When to Call a Pro
- Heavy soot through multiple rooms, or persistent odor after careful cleaning.
- Protein fire with pervasive smell, or oily soot from plastics/synthetics.
- Pre-1978 paint you’ll need to abrade, or asthma/respiratory sensitivities at home.
- Insurance claim documentation needs (soot readings, cleaning logs, photos).
FAQ
Will vinegar or baking soda work?
They can help deodorize light residue, but the real win is dry-cleaning first, then the right alkaline cleaner, and finally sealing if needed.
Can I skip priming if the wall looks clean?
If there’s any odor or ghost staining after drying, use an odor-blocking primer before paint. It’s much cheaper than re-cleaning and repainting later.
Do I need to repaint the whole room?
Often yes—primers can change sheen and color slightly. For uniform results, prime/paint wall-wide once spot tests confirm odor is controlled.