Moisture control is mold control. Use this practical, room-by-room plan to dry fast, stay safe, and protect your claim.
Quick Summary
- Dry within 24–48 hours to greatly reduce mold risk.
- Prioritize safety (electric, gas, structural) and PPE (gloves, eye protection; respirator as needed).
- Extract → dehumidify → move air → open assemblies (as appropriate) → verify with instruments (not just touch).
- Treat gray/black water (sewage/flood) as contaminated: porous materials usually must be removed and pros should handle remediation.
- Keep photos, logs, and receipts for insurance; don’t discard items before documenting.
How to Use This Guide
- Start with the whole-home prep below.
- Jump to the room(s) affected for targeted steps.
- Follow the timelines and equipment tips to hit dryness targets.
- Finish with the verification checklist so you don’t trap moisture.
Whole-Home Prep (before you go room by room)
- Make it safe: Cut power to wet zones if there’s any shock risk; check for gas smells or sagging ceilings.
- Stop the source: Main water shutoff or roof tarp (only if safe).
- Containment: Close doors or hang plastic to keep humid/dirty air from spreading.
- Vent smart: Exhaust wet air outside (window fan) if outdoor air is drier; otherwise keep it contained and rely on dehumidifiers.
- Instruments: Hygrometer (RH), moisture meter (materials). Aim for indoor RH ≤ 50% during dry-out.
Kitchen
What gets wet: Toe-kicks, cabinet backs, subfloor, drywall, insulation.
0–6 hours
- Extract pooled water. Remove toe-kicks for airflow; pull out the kick plate on appliances if safe.
- Set a dehumidifier and 1–2 air movers running along base cabinets (not directly into them).
- If insulation behind wet drywall is soaked, plan for flood cuts (12–24 in.).
6–48 hours
- Check cavity moisture via weep holes behind removed baseboards.
- Disinfect non-porous surfaces; avoid bleach on porous wood.
- If particleboard cabinet backs swell or delaminate, replace backs/toe-kicks.
Targets: RH ≤ 50%; drywall and subfloor trending down daily to match an unaffected room’s readings.
Bathroom
What gets wet: Drywall, vanity base, underlayment, caulked corners.
0–6 hours
- Run the exhaust fan or open a window. Extract, then set dehu + fan.
- Remove saturated bath mats; lift baseboard at wet walls.
6–48 hours
- Check behind vanity backs; remove if panels swell.
- If water wicked into walls from a toilet overflow (no solids = gray water), plan flood cuts and pad removal outside the bath as needed.
Targets: RH ≤ 50%; grout/caulk surfaces dry to touch; no musty odor.
Basement (finished or unfinished)
What gets wet: Slab, bottom plates, drywall, insulation, contents.
0–6 hours
- Pump/wet-vac standing water. Space dehumidifiers (large capacity) and create airflow circuits with multiple movers.
- Hang plastic to isolate sections; keep HVAC off in the wet zone to avoid spreading humidity.
6–48 hours
- Cat 2/3 (sump backup/sewage/groundwater): remove and discard carpet, pad, wet insulation, lower drywall; sanitize slab/subfloor.
- Elevated humidity + cool slab can cause condensation—keep warm, dry air moving across the surface.
Targets: RH trending to 40–50%; bottom plates and drywall edges returning toward baseline.
Living Room / Bedrooms
What gets wet: Carpet/pad, baseboards, lower drywall, furniture legs.
0–6 hours
- Extract thoroughly. Lift carpet at a corner; remove saturated pad.
- Place air movers to run along walls; set dehumidifier centrally.
- Block/foil under furniture feet; move porous furniture to a dry area.
6–48 hours
- For clean water, you may save carpet with professional cleaning; pad is often replaced.
- For gray/black water, discard pad and often carpet; cut out wet drywall and insulation.
Targets: Carpet backing dry to the touch; tack strips not reading “wet” on your meter; wall base readings dropping daily.
Laundry / Utility Room
Risks: Detergent-rich gray water, appliance leaks, floor drains.
0–6 hours
- Unplug appliances only if outlets are dry and safe to reach. Extract; dehu + fan.
- Check behind/under machines; clean lint and ensure floor drain is clear.
6–48 hours
- If overflow contained soaps/organics (gray water), prioritize disinfection of non-porous surfaces; remove contaminated porous materials.
Targets: RH ≤ 50%; under-appliance cavities dry.
Kitchenettes, Pantries & Built-ins
0–6 hours
- Remove kick plates; inspect for hidden moisture.
- Pull shelves and open doors to promote airflow.
6–48 hours
- Replace swollen particleboard shelves/backs.
- Keep dehu running until meter readings match adjacent, unaffected cabinetry.
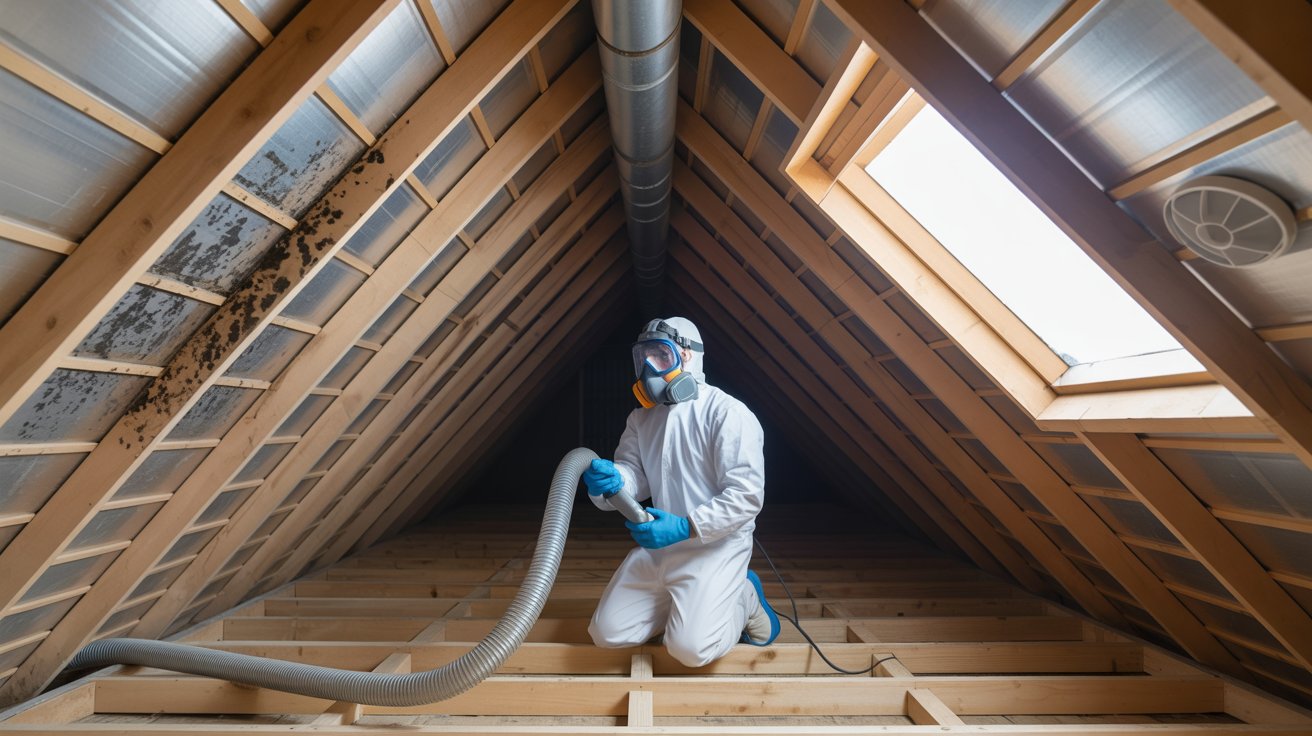
Attic / Roof Leaks
0–6 hours
- If safe, place a temporary tarp outside; inside, set a collection pan and open the ceiling area to relieve trapped water.
- Pull wet insulation; bag and dispose if saturated.
6–48 hours
- Vent warm, dry air; avoid pushing moist air into the rest of the home.
- Inspect sheathing for staining/delam—dry thoroughly before re-insulating.
Targets: Wood trending toward local equilibrium (often ~8–12%); no active drips.
Crawlspace
0–6 hours
- Pump out standing water; create cross-ventilation.
- Inspect vapor barrier; repair tears.
6–48 hours
- Run a crawlspace dehumidifier; consider temporary negative air to exhaust humid air outside.
- Treat microbial growth on non-porous elements; evaluate insulation for removal if saturated.
Targets: RH ≤ 60% in crawl; wood moisture trending down; ground covered by intact vapor barrier.
HVAC & Ducts
- Don’t run the system if the return or ducts are wet or potentially contaminated—this spreads spores and humidity.
- Replace filters; have ducts inspected/cleaned if impacted.
- After dry-out, verify supply/return areas are at dry standard before restarting.
Contents: What to Save vs. Toss (quick rules)
- Save (often): Solid wood furniture (dry quickly), hard goods, most metals, washable textiles if Cat 1 and dried fast.
- Toss (often): Carpet pad, swollen particleboard/laminates, mattresses/upholstery after gray/black water, paper goods soaked >24–48 hours.
- Specialists: Photos/documents/electronics—consider freeze-dry or data recovery.
Daily Verification Checklist (don’t skip)
- Record room RH & temperature morning/evening.
- Take material moisture readings at the same marked spots daily.
- Reposition air movers as surfaces approach dry; keep dehumidification steady.
- Odor check: Mustiness means hidden moisture—re-inspect cavities.
- Only begin rebuild when readings match unaffected areas and odor is neutral.
Safety & Health Notes
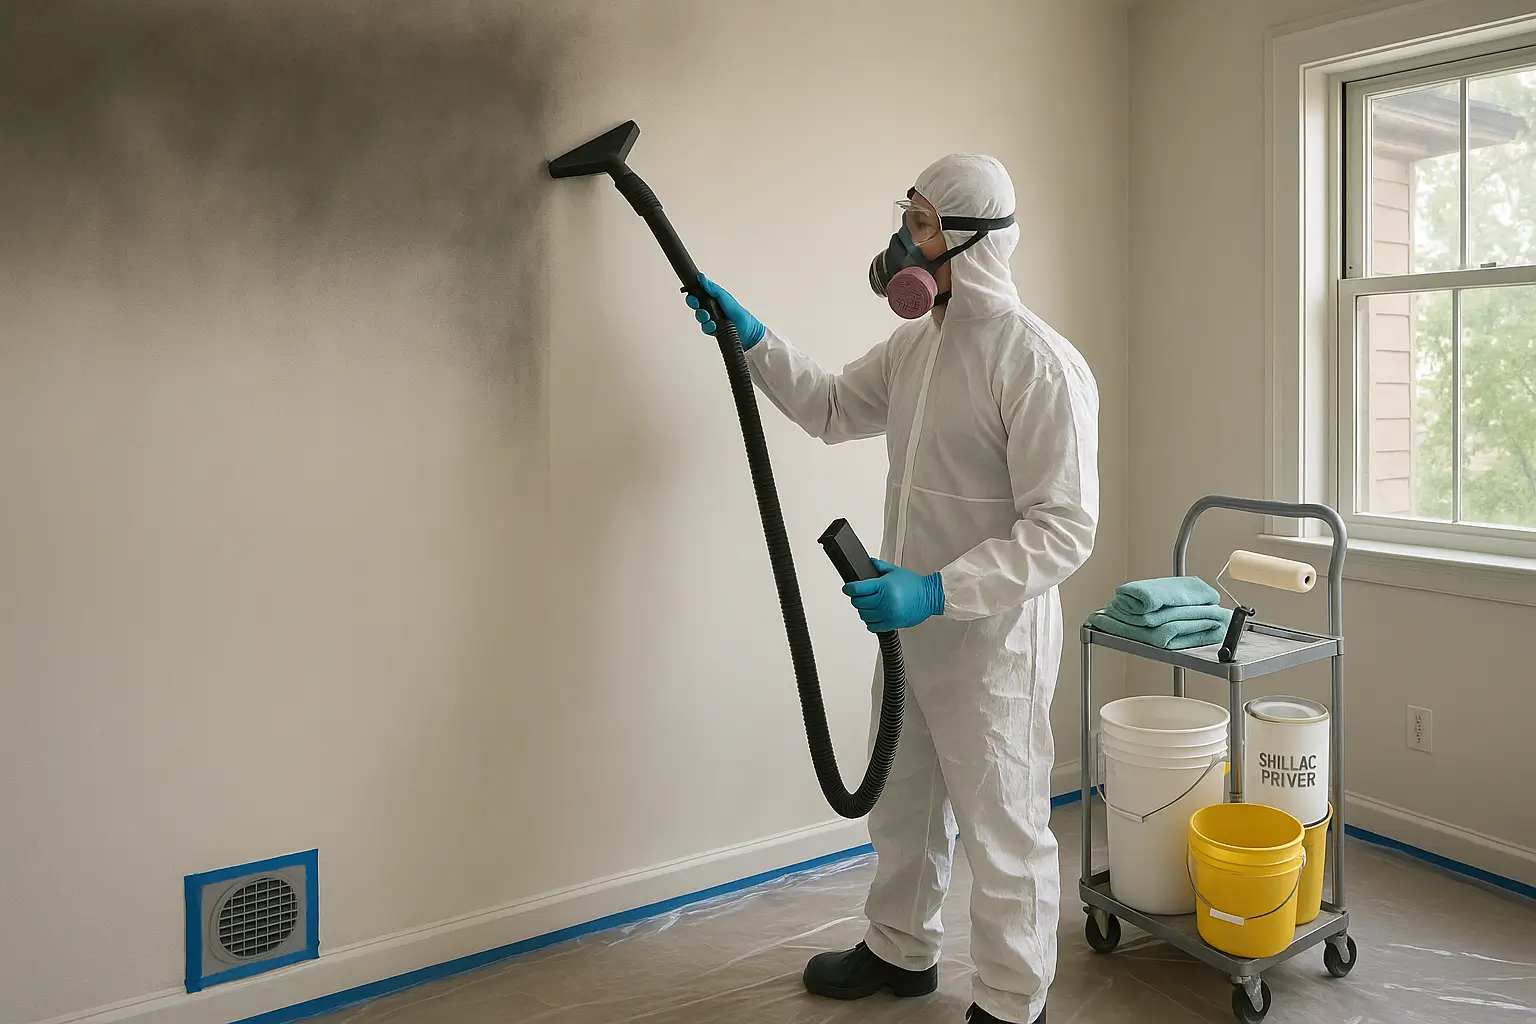
- Wear gloves, eye protection, and, where appropriate, a respirator.
- Never mix cleaners (especially bleach + ammonia). Ventilate during cleaning.
- Sewage/river flooding (Category 3): Treat as hazardous—professional remediation is strongly recommended.
Mistakes That Create Mold (avoid these)
- Waiting for “air dry” without dehumidifiers.
- Closing walls/floors before moisture verification.
- Running central HVAC during mitigation.
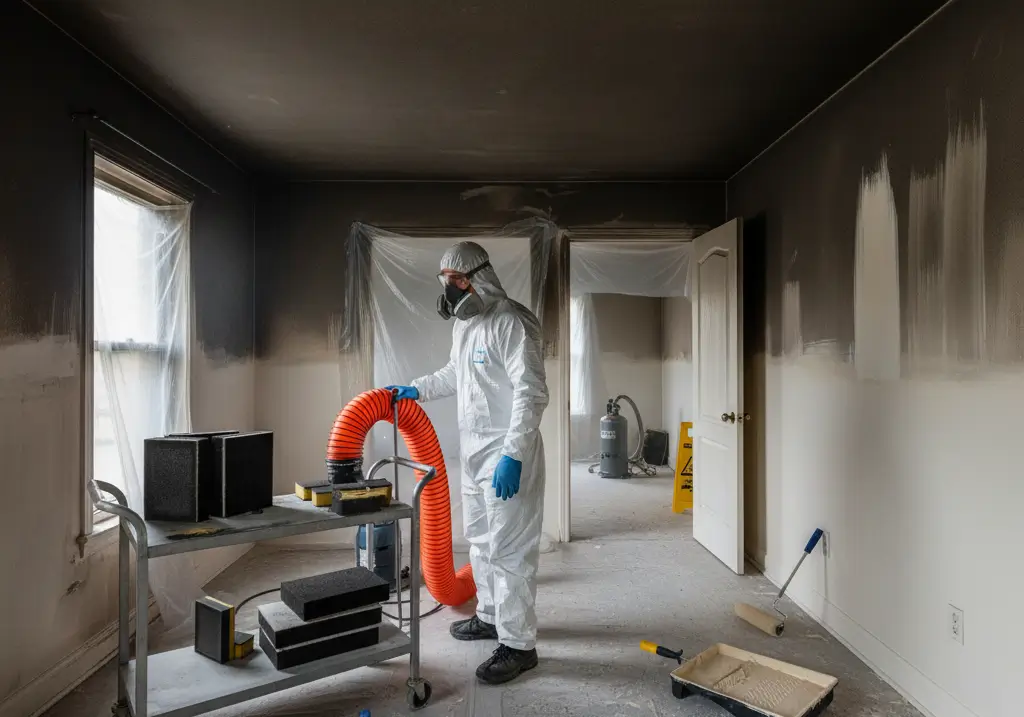
- Painting over stains instead of fixing moisture and removing mold.
- Tossing evidence before photographing and inventorying for insurance.
Room-by-Room Starter Kit (equipment list)
- Portable dehumidifier(s) with continuous drain.
- Air movers/fans (the more surfaces, the more fans).
- Hygrometer (RH) and moisture meter (materials).
- Utility pump/wet-dry vac, plastic sheeting/tape for containment, PPE.