Elite homeowner guide to stop secondary damage, avoid insurance pitfalls, and dry your home the right way—fast.
At-a-Glance Quick Start (read this first)
- Protect people/pets. Keep kids, elderly, and pets out.
- Stop the source. Main water shutoff; tarp small roof openings if safe.
- Kill the power (safely). If outlets/appliances got wet, shut circuits at the main—only if the area around the panel is dry. When in doubt, call an electrician.
- Document everything. Photos/video of every room, waterlines, and close-ups.
- Call insurance early. Ask about coverage, deductibles, Additional Living Expense (ALE), and whether you need a mitigation company on site now.
- Extract water. Use pumps/wet vacs; remove soaked cardboard/pressboard fast.
- Start controlled drying. Dehumidifiers + air movement + containment.
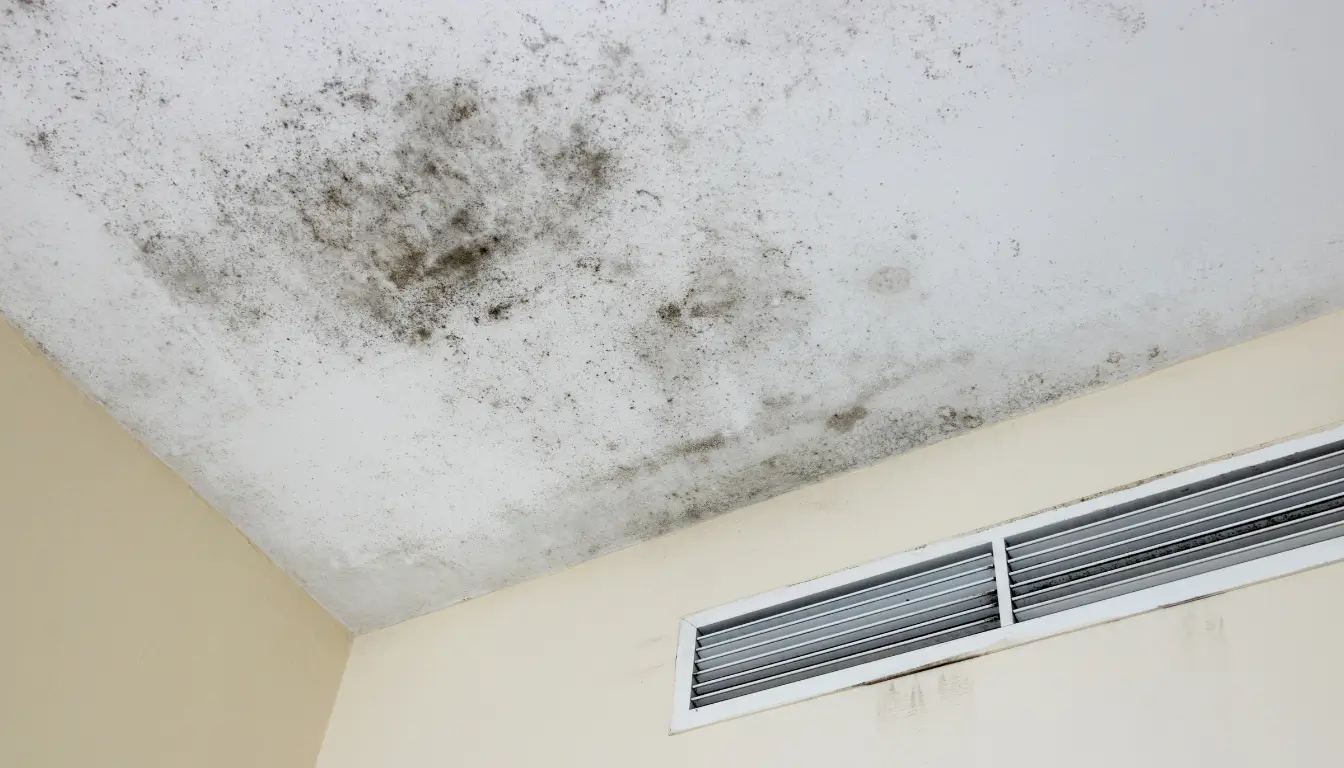
- Watch for mold. It can start in 24–48 hours—don’t wait to dry.
Download the printable 48-hour checklist (CSV):
Why the First 48 Hours Decide Your Outcome
Water moves—and it keeps working after the leak stops. Within hours it wicks into drywall, subfloors, cabinets, and insulation. By 24–48 hours you’re not just fighting moisture; you’re fighting microbial growth, odors, warping wood, delaminating floors, and swollen trim. Fast, controlled action is the difference between a clean dry-out and a weeks-long, mold-ridden rebuild.
Safety First: Non-negotiables
- Electric shock: If water touched outlets, cords, or appliances, shut off power at the main only if you can reach it safely on dry ground. Otherwise, wait for a licensed electrician.
- Gas leaks: Smell gas or hear hissing? Evacuate and call the utility from outside.
- Structural red flags: Sagging ceilings, buckled floors, bowed walls? Get out—call a pro.
- Contaminated water: Assume floodwater or sewage is Category 3 (unsanitary). Wear PPE (gloves, boots, eye protection; N95/half-face respirator as needed).
- Lead/asbestos caution: Homes built before 1980 (and sometimes after) may require testing before cutting drywall or disturbing materials. When in doubt, call a pro.
Know Your Loss: Water Category & Class (fast triage)
Understanding the type and quantity of water helps you make smart, safe choices.
Water categories (contamination level)
- Category 1 (clean): Supply lines, rain through a clean leak, tub overflow.
- Category 2 (gray): Washing machine/dishwasher discharge, sump failures—can make you sick.
- Category 3 (black): Sewage, river/ground floodwater, long-standing water—contains pathogens.
Drying classes (how much got wet)
- Class 1: Small area, minimal absorption (hard surfaces).
- Class 2: Whole rooms, moisture wicked into walls/porous materials.
- Class 3: Ceilings/walls/floors saturated; water may come from above.
- Class 4: Dense/low-permeance materials (hardwood, plaster, brick, concrete) heavily saturated—needs specialized drying.
Rule of thumb: Category 2/3 often requires removal of porous materials (carpet pad, insulation, drywall). Class 3/4 needs more time, more dehumidification, and daily monitoring.
Minute-by-Minute Timeline: 0–2, 2–6, 6–24, 24–48 Hours
0–2 Hours — Stabilize & Document
- Stop the source: Main valve off; relieve pressure by opening a low faucet.
- Power & gas safety: As above; don’t energize wet circuits.
- Photo/video everything: Wide shots, close-ups, waterlines, each room, serial plates on appliances/furniture.
- Call insurance/agent: Report a “sudden and accidental water loss.” Ask about coverage, Additional Living Expense (ALE), preferred vendors, and whether you’re free to hire your own mitigation contractor. Get a claim number.
- Protect valuables: Move dry items out; elevate furniture on blocks/foil.
- PPE & containment: Close doors or hang plastic to confine humidity to affected rooms.
2–6 Hours — Remove Water & Start Controlled Drying
- Extract standing water: Pumps/wet vacs. Squeegee hard floors.
- Remove fragile/unsalvageable items: Soaked cardboard, swollen particleboard, saturated area rugs with jute backing.
- Lift carpet edges (Cat 1 only): Remove pad if soaked; label corners for re-install.
- Set dehumidifiers + air movers: Aim to lower RH under 50% ASAP.
- Weep holes for clean water in base of walls: Drill small holes behind removed baseboards to relieve moisture (Cat 1 only).
- Protect clean zones: Walk-off mats/poly paths to prevent cross-contamination.
6–24 Hours — Open Assemblies & Disinfect
- Moisture mapping: Use/borrow a moisture meter. Mark wet areas on painter’s tape.
- Flood cuts (Cat 2/3): Remove drywall 12–24 inches above the water line; bag and discard wet insulation.
- Cabinets & toe-kicks: Remove toe-kicks; ventilate cavities.
- Disinfect non-porous surfaces: Use an EPA-registered disinfectant; avoid bleach on porous building materials—it doesn’t penetrate and may damage fibers.
- HVAC: Turn off affected zones; replace filters; avoid spreading humidity/spores.
- Electronics/documents: Do not power on. Blot, air dry in low-RH room; consider a recovery specialist for drives/photos.
24–48 Hours — Monitor, Adjust, Decide
- Daily readings: Record temperature, RH, and material moisture every 12–24 hrs. Reposition fans as surfaces dry.
- Mold watch: New musty odor, fuzzy spots, or discoloration = escalate to remediation.
- Structural checks: Warping, cracking grout, cupping hardwood—note and photograph.
- Claims file: Update photo log; inventory discarded items (make, model, age, approximate replacement cost).
- Plan rebuild: Get written estimates; confirm permits/code upgrades coverage; choose moisture-resistant materials (cement board, closed-cell foam, LVP, mold-resistant drywall).
Drying Like a Pro: Setup, Targets & Monitoring
- Dehumidification: Start immediately. As a rough guide for typical homes, one large residential dehumidifier can often manage 600–1,200 sq ft of moderately wet space; add units as needed for big/very wet losses.
- Air movement: Position fans to create a circular airflow around the room; don’t blow directly at moldy areas.
- Containment: Keep doors closed or use plastic to concentrate drying power and keep unaffected rooms dry.
- Targets: Indoor RH ≤ 50%, materials trending down daily. Wood returns slowly toward ~8–12% depending on climate; drywall should return to baseline near 0.3–0.8% by weight (or to pre-loss comparator readings).
- Verification: Trust instruments, not just feel. Compare to readings from an unaffected area.
Insurance Done Right: Claims Tactics That Save You Money
- Know the cause: Most policies cover sudden & accidental water releases; flood (rising water) is separate coverage. Sewer backup often needs an endorsement.
- Document in layers: Before, during, after. Keep a daily log (who, what, when). Save receipts for fans, dehus, tarps—these can be reimbursable mitigation costs.
- Preferred vendor ≠ only option: You can usually hire any properly licensed mitigation firm.
- ALE (Additional Living Expense): If a kitchen/bath/bedroom is unusable, ask about ALE for lodging/meals.
- Depreciation vs. replacement: Contents may be actual cash value until you replace; keep proof of replacement to recover depreciation (varies by policy).
- Do not discard yet: Photograph and inventory all unsalvageable items first; keep for adjuster inspection unless posing a health risk.
Salvage vs. Discard: Material-by-Material Matrix
| Material/Item | Cat 1 (Clean) | Cat 2 (Gray) | Cat 3 (Black/Sewage) | Notes |
|---|---|---|---|---|
| Drywall | Usually salvageable with rapid drying; may drill weep holes | Often remove lower 12–24″ | Remove | Check insulation behind. |
| Insulation (fiberglass/cellulose) | Remove if saturated | Remove | Remove | Holds moisture, slow to dry. |
| Carpet | Often salvageable; remove pad if saturated | Usually discard pad; carpet maybe cleanable | Discard | Steam clean if saved. |
| Hardwood | Often salvageable; cupping may flatten | Case by case | Often salvageable with specialty drying | Monitor with pin meter; slow dry. |
| Laminate/engineered click-lock | Frequently discard if seams swell | Discard | Discard | Swollen core delaminates. |
| Vinyl/LVP | Often salvageable | Often salvageable | Often salvageable if surface-only; check trapped moisture | Check for moisture under. |
| Cabinets | Ventilate; may save | Faces often cleanable; backs may swell | Usually replace backing/toe-kicks | Dry behind/under. |
| Upholstered furniture/mattresses | Maybe salvageable if only damp | Usually discard | Discard | Porous + contamination risk. |
| Books/photos | Freeze or air-dry quickly | Specialist recommended | Specialist recommended | Avoid heat; consider scan/restore. |
| Electronics | Do not power on; dry, then evaluate | Specialist | Specialist | Corrosion risk—time matters. |
| Subfloor (OSB/plywood) | Usually salvageable | Case by case | Case by case | Probe for swelling/delam. |
Mold Prevention & When to Escalate to Remediation
- Clock matters: Visible mold can start in 24–48 hours.
- Control humidity: Keep RH ≤ 50%; vent humid air outside.
- Chemicals aren’t a shortcut: Disinfectants help on non-porous surfaces; they don’t replace drying. Bleach is not effective for porous building materials.
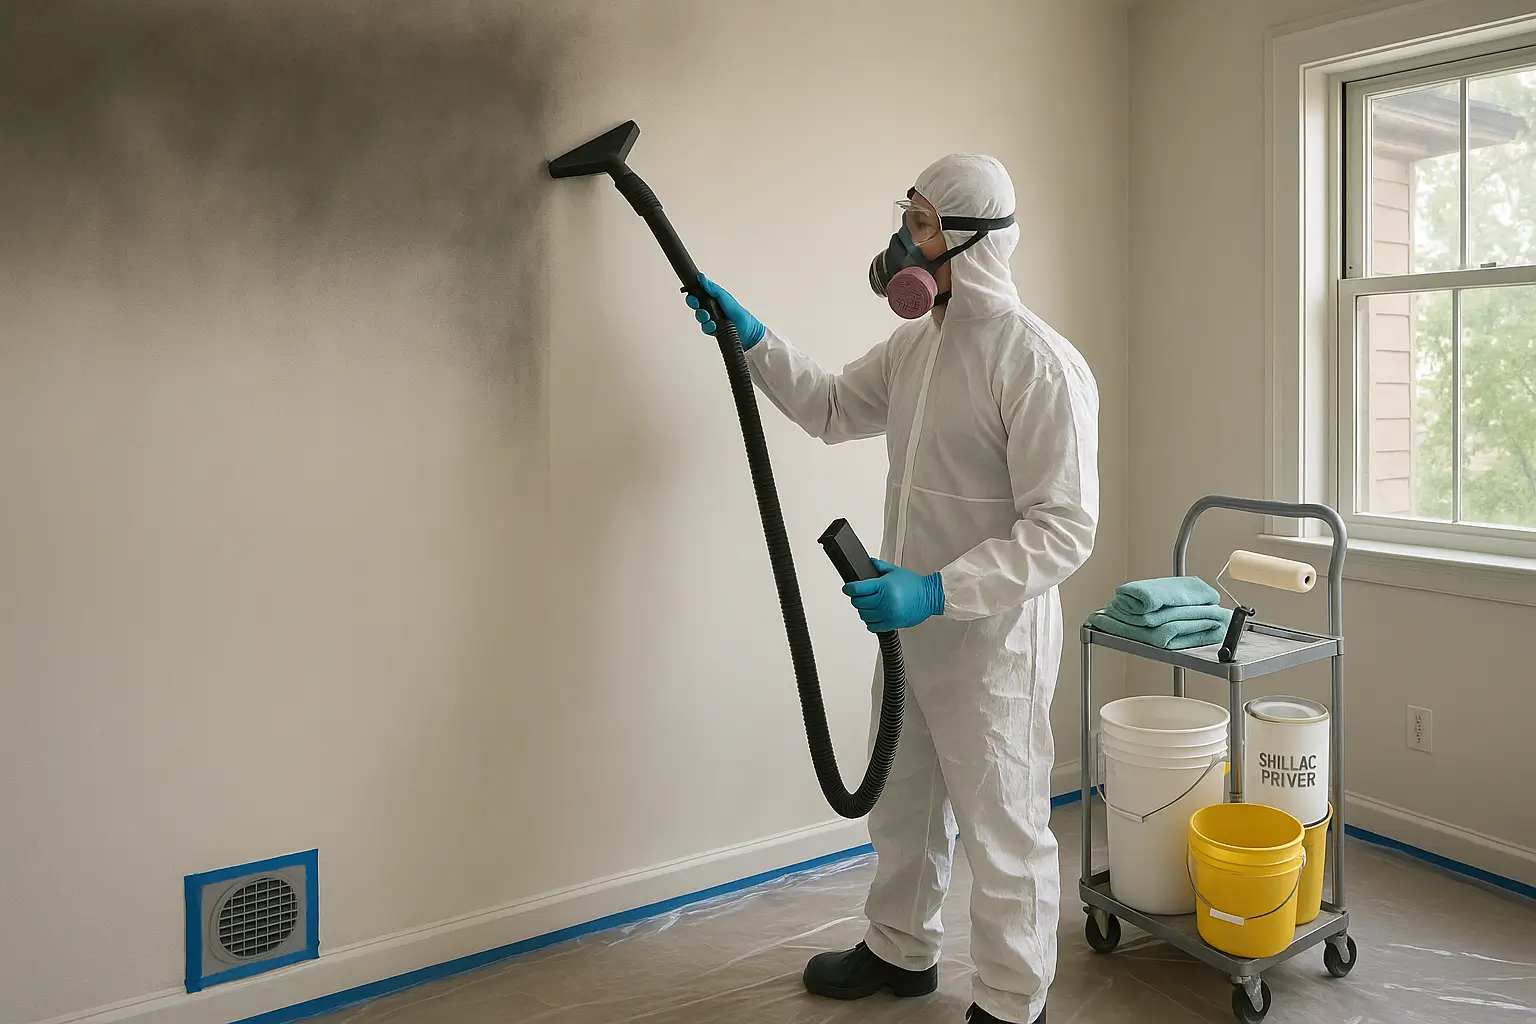
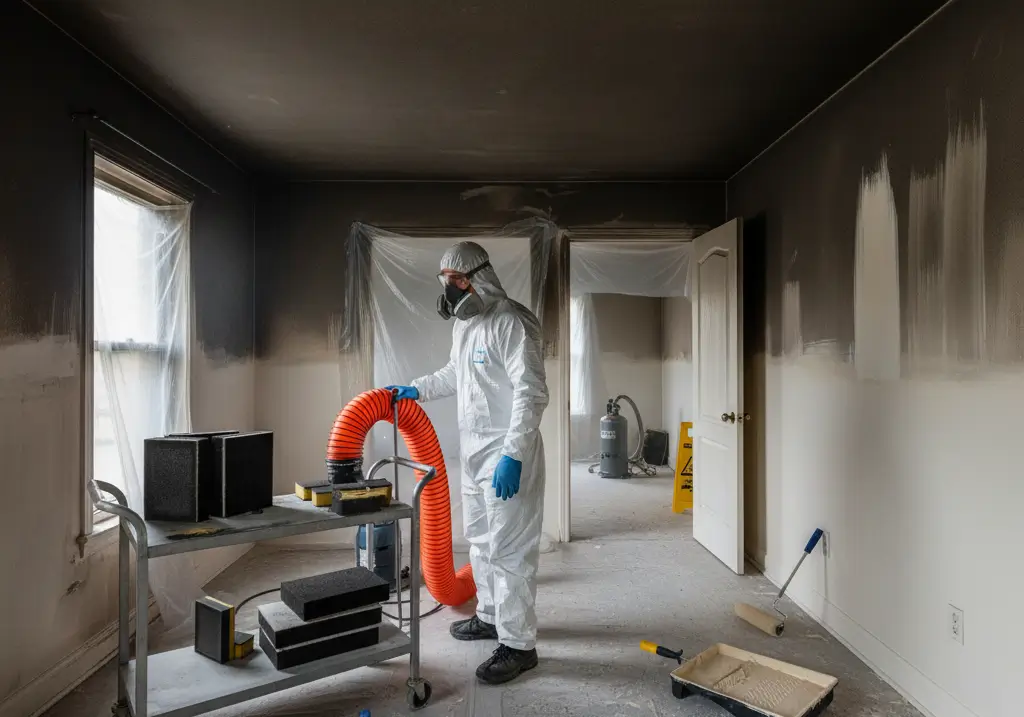
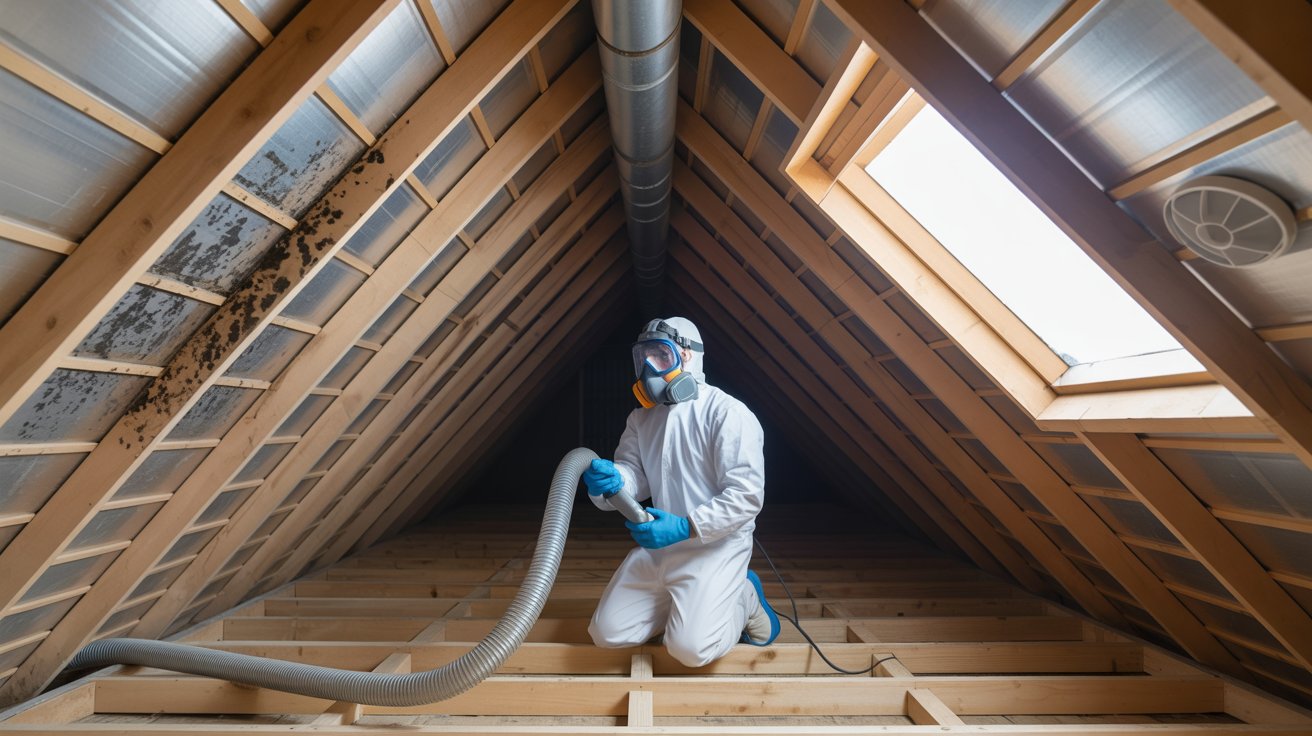
- Escalate if: You see/ smell mold, RH won’t drop, or vulnerable occupants (asthma, elderly, infants) are present. A licensed remediation pro should set containment and negative air pressure, remove impacted porous materials, HEPA vacuum, and perform clearance.
Common Mistakes to Avoid
- Turning HVAC on too soon, spreading humidity/spores throughout the house.
- Using household fans only without dehumidification (you just move wet air).
- Bleaching drywall or subfloor and calling it “done.”
- Ripping out materials in a pre-1980 home without first considering asbestos/lead.
- Tossing items before photographing and inventorying them for the claim.
- Assuming “it feels dry” = it is dry. Always verify with moisture readings.
What Pros Do (IICRC-style) & When to Call
- Site safety & category assessment (Cat 1/2/3; Class 1–4).
- Rapid extraction with truck-mounts/submersibles.
- Containment & negative air, especially for Cat 2/3.
- Calculated drying plan: Right number/placement of dehumidifiers & air movers; daily psychrometric monitoring (temperature, RH, grains of moisture).
- Selective removal (flood cuts, insulation removal) and antimicrobial application on appropriate surfaces.
- Documentation for your insurer: moisture maps, daily logs, before/after photos, equipment lists, and drying goals/clearance.
Call immediately if you have: sewage/floodwater, multi-room saturation, hardwood or plaster soaked, ceiling collapse risk, or any health/safety concerns.
FAQs
How long does drying take?
Initial surface drying can happen in 24–72 hours; complete structural drying commonly takes 3–7 days for clean-water losses, longer for Class 3/4 or Cat 2/3 events.
When can I turn the HVAC back on?
After the immediate wet area is contained and you’ve changed filters; ideally once RH is trending below 50% in the affected zone to avoid spreading humidity.
Do I need to replace carpet pad?
If it was saturated, yes—especially in Cat 2/3. Pads trap water and slow drying.
Is bleach good for mold?
Not on porous building materials. Focus on drying, then use appropriate EPA-registered products on non-porous surfaces; porous mold-impacted materials are typically removed.
What if I can’t find the leak?
Shut off the main, then call a plumber or leak detection specialist. Thermal imaging and acoustic tools can pinpoint hidden failures.
Pro Resources You Can Use Right Now
- Moisture meter: Borrow/buy an affordable pin or pinless meter for daily checks.
- Hygrometer: Track RH and temperature; log twice daily.
- Containment kit: 2–4 mil plastic sheeting, painter’s tape, zip poles (optional).
- PPE: Nitrile gloves, waterproof boots, safety glasses, and an N95/half-face respirator (especially for Cat 2/3 or demolition).
Final word
If you remember nothing else: act fast, dry smart, document everything. The first 24–48 hours set the trajectory for your entire claim, your costs, and your home’s health. Use the checklist above, and don’t hesitate to bring in licensed restoration pros for anything beyond a small, clean-water spill.


